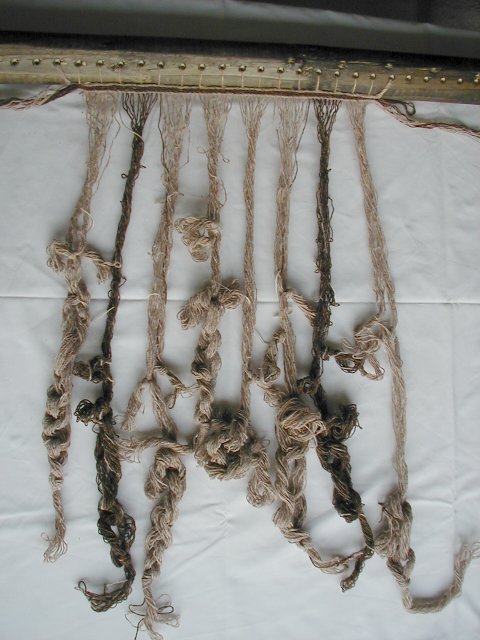
Tonight we got the band attached to the warp beam. Click on photos for close-ups, as usual. First, we had to work out where to position the band. Then we used the ends of the TW warp to tie it to the beam – under tension, so longer than 15″ again.
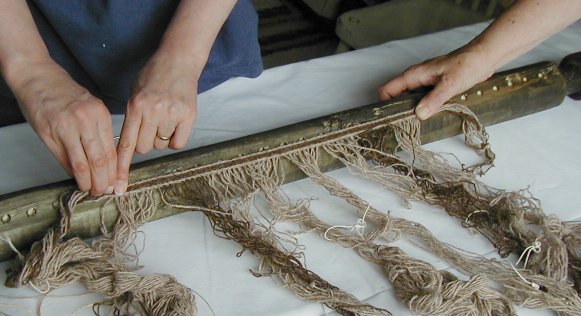
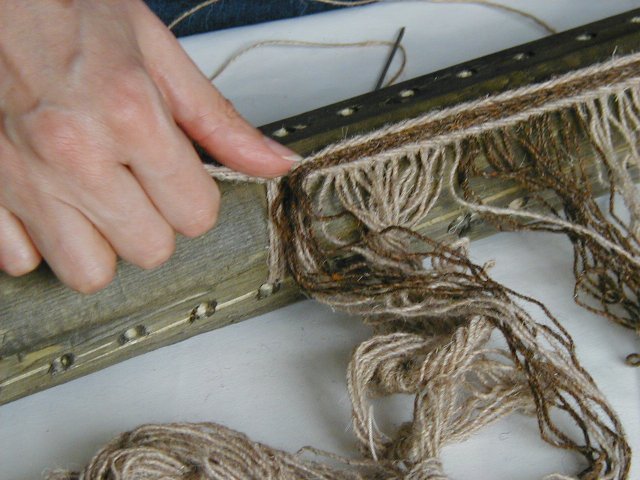
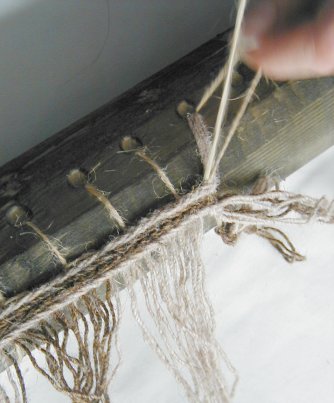
Next, I sewed it on, with Elizabeth’s help (Rys was also helping by being cameraman). We found it easier to sew it on without worrying too much about the tension, adjusting that at the end. In the next photo, as I am tying off the end of the sewing cord, it has already been tensioned and the stitches lie straight.

We discussed sewing along the band again but this time going all the way around the beam with each stitch, just for added security. Some of the attached warps shown in the Hoffmann book have this, others don’t. However it was getting late and we all wanted to eat, so we decided to leave it for this evening. Elizabeth will decide tomorrow whether to do the extra sewing. If she does want to do it, it should be easier to do alone than the first row of sewing would have been, as the band is already held in position.
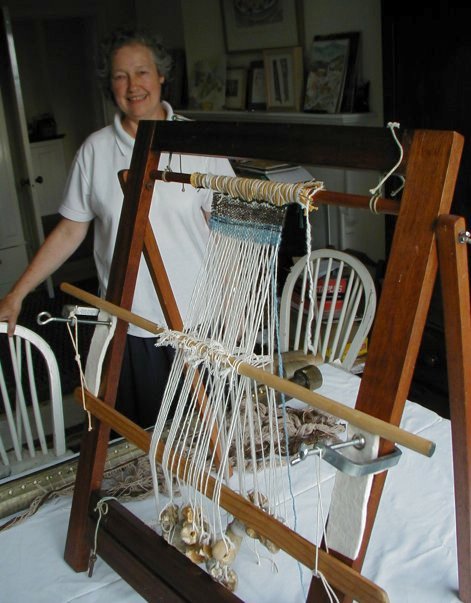
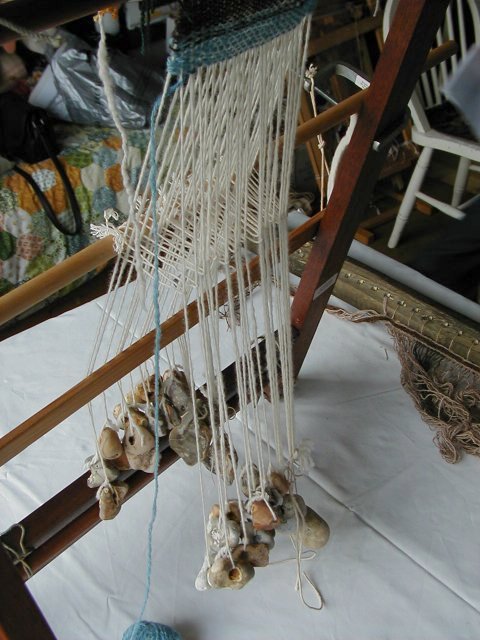
While we were there, we took photos of the mockup WW loom which Elizabeth made at the start of this project to help us all understand the principle of WW looms. Small versions of those pictures don’t work, so click the description for the front view, back view and a close-up of the lovely stone weights. We would have like to use stone weights for the real loom, but we couldn’t get enough suitable ones, so we will be using bags of lead instead.
Comments
Very cool! I have always wanted to see one of those in action.
-
Failed to fetch badge info from Flickr.\n
-

-

-
